EPEVER MPPT 40A Solar Charge Controller 12V 24V Auto, 40 amp Solar Charge
EPEVER MPPT 40A Solar Charge Controller 12V 24V Auto, 40 amp Solar Charge Regulator MPPT Automatically Identifying System Voltage, for Lead-Acid Lithium Batteries and Load Timer Setting
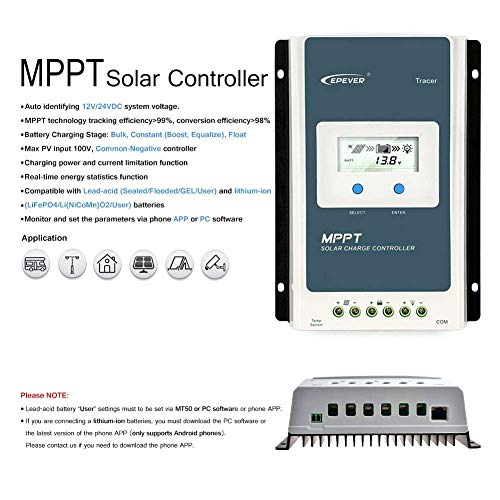
- MPPT 40A Solar Controller support for 4 type Battery charging: Lead-acid (Sealed, AGM, Gel, Flooded), User and Lithium). Battery temperature compensation function to ensure the controller’s life. It protect the battery from being over-charged by the solar modules and over-discharged by the loads.
- This MPPT Controller protection built-in against reverse polarity, overcharging, over-discharging, overload, short-circuiting, and reverse current. It protect the battery from being over-charged by the solar modules and over-discharged by the loads.
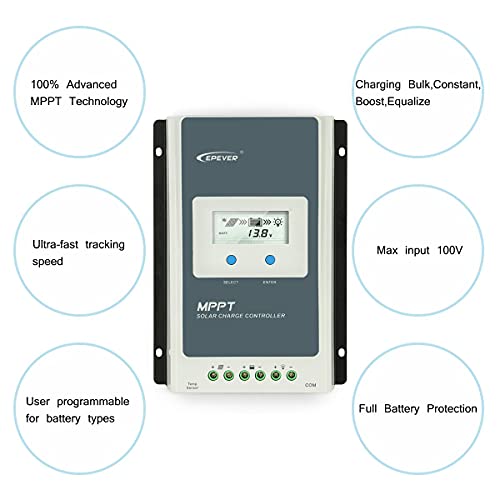
- Maximizing the energy from solar panels to charge your system.Negative Ground Controller featuring advanced MPPT technology with high tracking efficiency up to 99.5% and peak conversion efficiency of 98%.
- The use of internationally renowned brands ST, IR high-quality, low-loss devices to extend product life. Standard Modbus communication protocol based on RS485 communication bus, communication distance more longer
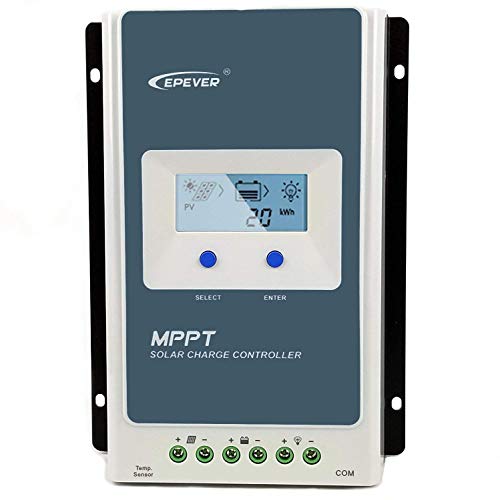
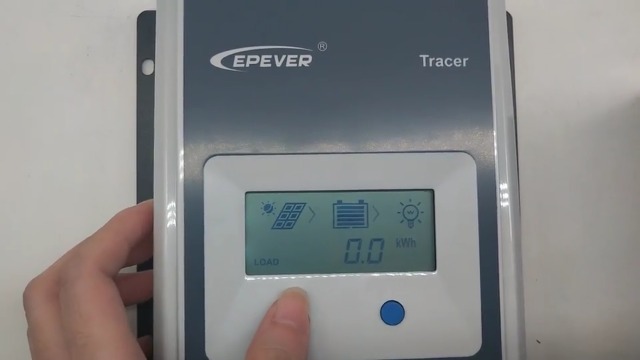
- MPPT charge Controller with blackligh LCD screen for displaing system information and working condition. Die-cast aluminum design allows for efficient heat dissipation.

| SKU: | B07PJT9QSX |
| Weight: | 1.84 kg |
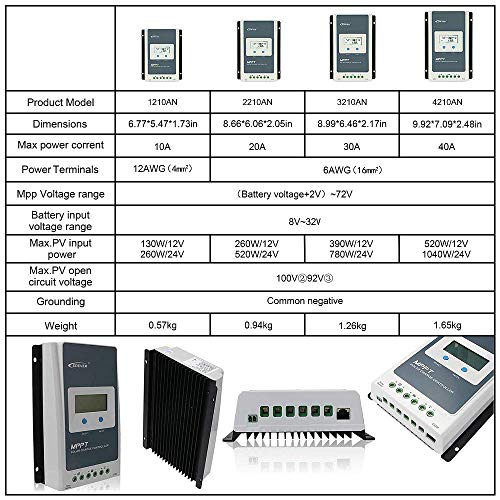
| Size: | 40A |
| Dimensions: | 28 x 19.8 x 8.2 cm; 1.84 Kilograms |
| Part: | T4210-UK |
| Colour: | 4210AN |
| Batteries Required: | No |
| Batteries Included: | No |
| Manufacture: | EPEVER |
| Reference: | T4210-UK |
| Size: | 40A |
Product Description

Warm tips:
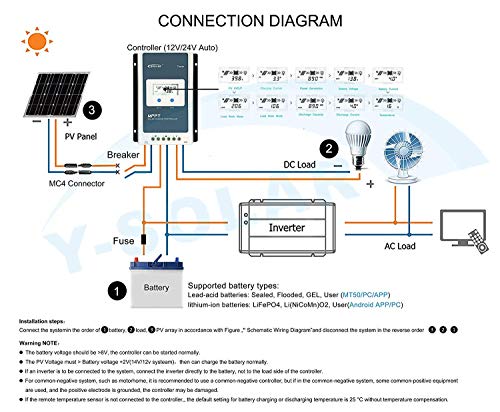
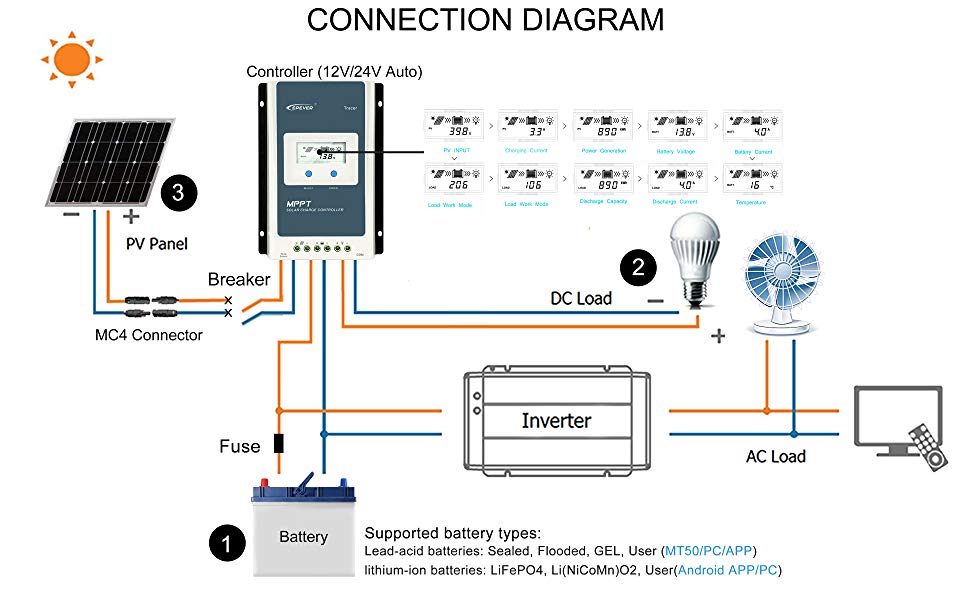
Step: Connect the system in the order of 1.battery–>2. load–>3.PV array, and disconnect the system in the reverse order 3. 2. 1.
Battery must be connected first !!!
Never connect the soalr panel array to the controller Without/Before a Battery.
DO NOT connect any inverter/ wind/Alternator or Charger into the charge controller!
If the remote temperature sensor is not connected to the controller, the default setting for battery charging or discharging temperature is 25 °C without temperature compensation.
The wire size is only for reference. If there is a long distance between the PV array and the controller or between the controller and the battery, larger wires can be used to reduce the voltage drop and improve performance.