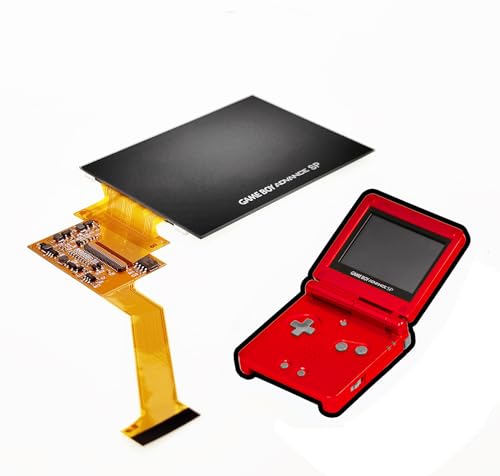
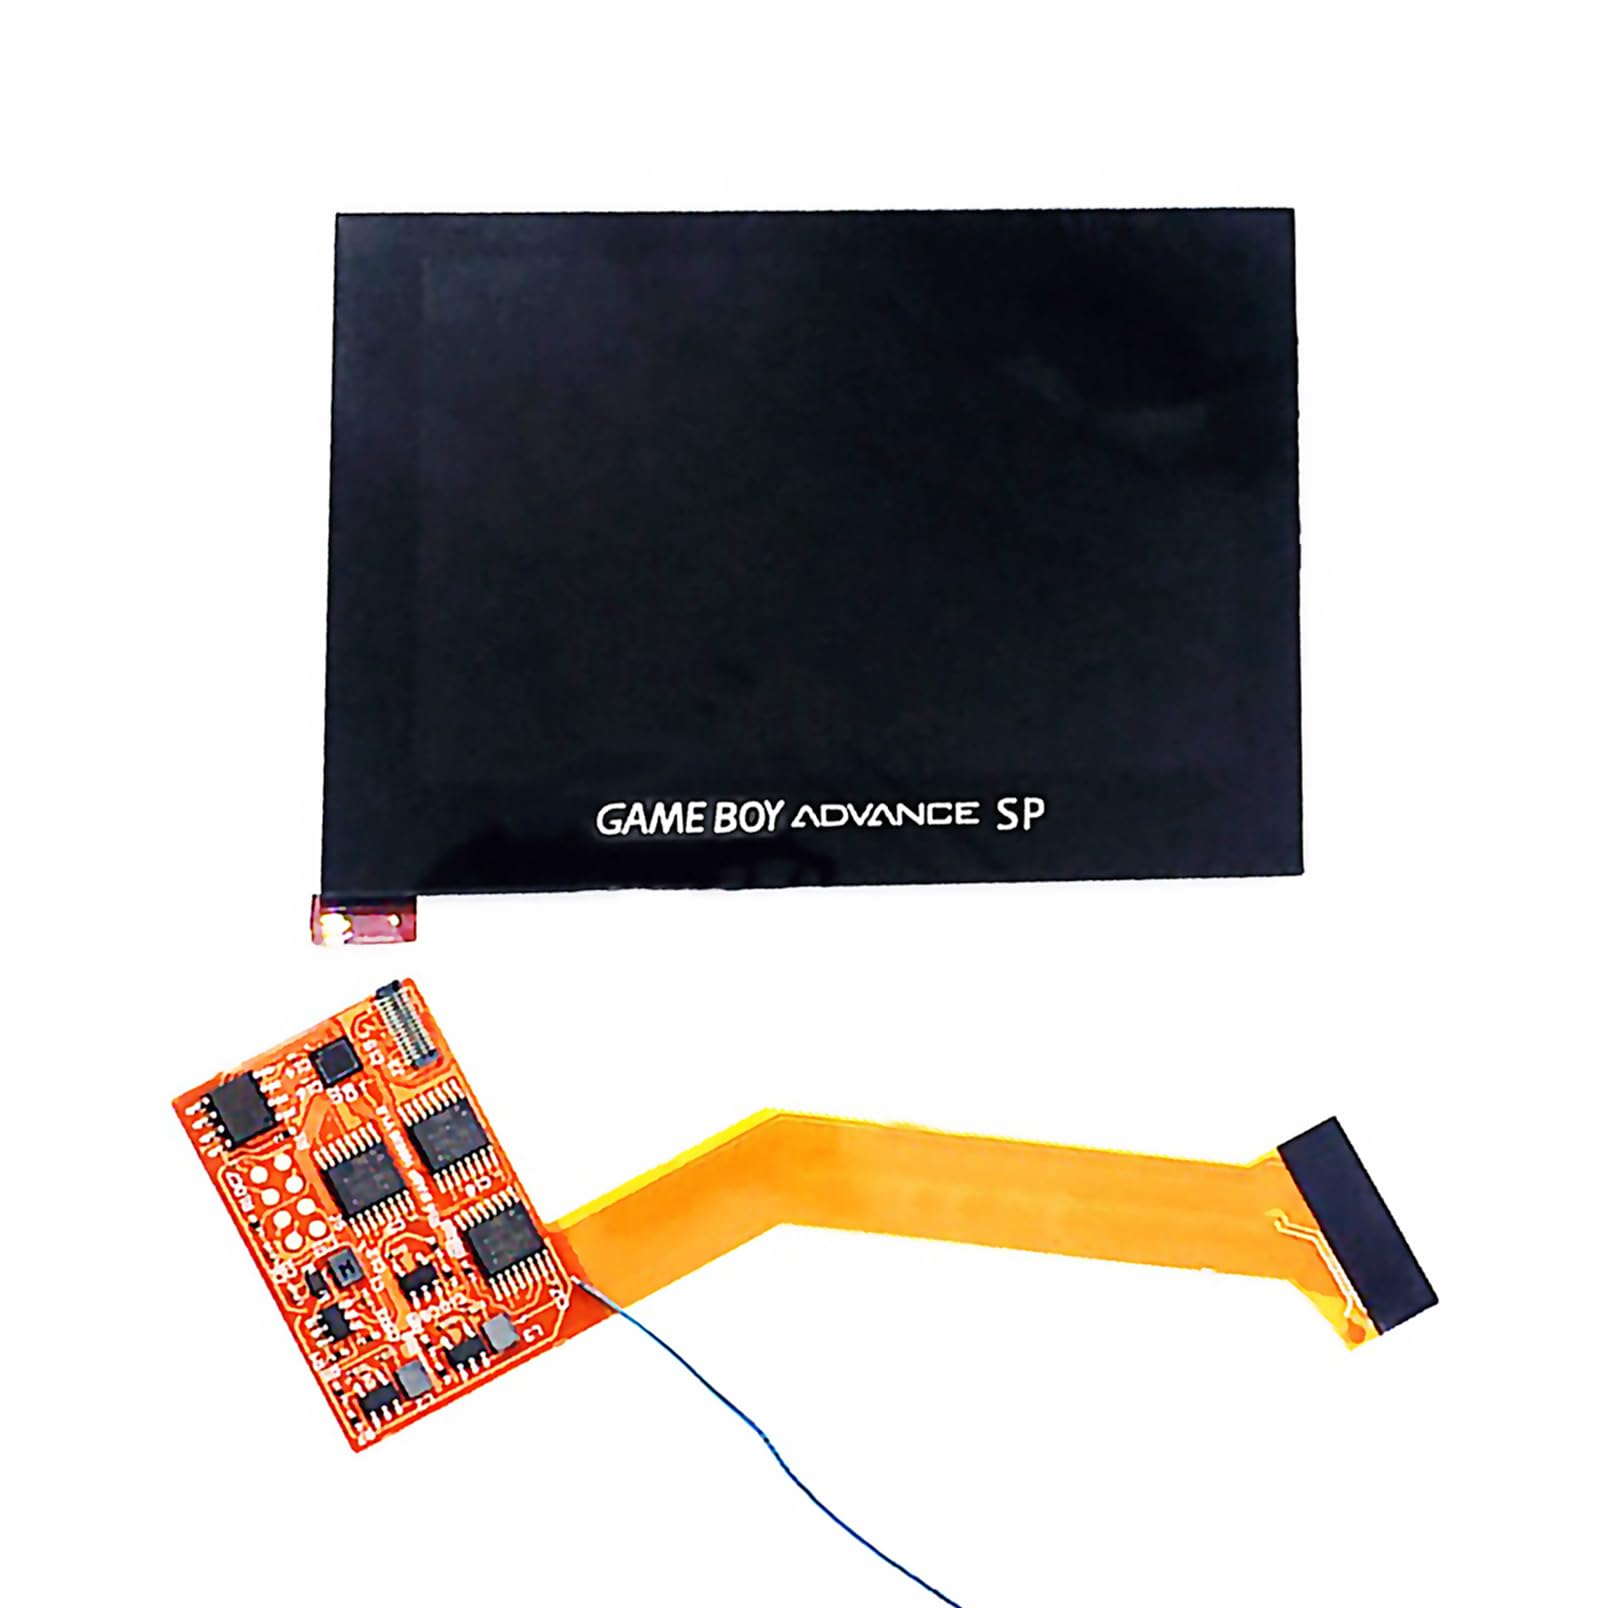
New GBASP IP Display Mod Kit Brighten Screen Module V3 Replacement, for Gameboy

New GBASP IP Display Mod Kit Brighten Screen Module V3 Replacement, for Gameboy Advance GBA SP Handheld Game Console, 8 Brightness Levels OSD Menu Multiple Modes 100% Fit Full Cover Assembly, Black
- You will get: V3.0 IPS screen mod kit x1. Condition: brand new, never used. What You See Is What You Get.
- The best original screen replacement scheme. Support 8 levels brightness adjustment.(reqire to solder a wire). with OSD menu, multiple display modes.
- Wide color gamut, high contrast ips screen, viewing angle up to 178 degrees. Rduce light reflection, 100% full cover, dust-proof.
- It doesn't include housing shells, buttons, rubber pad, repair tools etc. Please contact us if you need other accessories and tools. We accept combine shipping.
- We advise you to search for instructions in the Internet to see whether you can manage the installation yourself, prior to attempting the installation. We can provide with simple installation support, please contact us if you need.
It is a set of V3 IPS screen mod kit replacement compatible with GBA SP handheld game console. Doesn’t include housing sells, buttons, rubber pad, tools, etc. Please buy them in our store separately. We can provide with simple installation support, please contact us if you need. Condition: New Compatibility: GBA SP Warranty: Three Months Note: We are endeavor to provide first-class services and products, if parcel arrived broken & missing parts & items not working well, please feel free to message us. An inappropriate installation can damage your device and the item and buyer will be responsible for this kind of damage. We advise you to search for instructions in the Internet to see whether you can manage the installation yourself, prior to attempting the installation. Instructions to install the GBASP IPS Screen Kit Ver30 Tools: 2.0mm “Y” screwdriver 2.0mm “+” screwdriver Soldering Iron Tweezers Nozzle Pliers 1. Take off the back cover, unscrew the screws with red ring mark. 2. Take off the bottom shell and power switch button. 3. Unscrew the three screws on motherboard. 4. Flip up the motherboard, to find the flat ribbon. 5. Unlock the latches, to take off the motherboard. 6. Connect the IPS screen and the IPS module with the flat flex cable. (All in the package) 7. Now, you have the IPS assembly, motherboard, battery, ready to test. 8. Assemble the motherboard in the bottom shell, install the battery. 9. Ensure the IPS screen back side up, connect the IPS cable with the motherboard, lock it. 10. Power on, check if the screen light on as expected. 11. Take off the protective film and back sealed tape on the screen, ready for assembling. 12. Take off the upper face B shell, to remove the original screen. 13. Modify the face A top shell with the nozzle pliers. 14. Cut off the inner left part, make it clear and flat without any bulge, to place the IPS screen. 15. Crimp the long flat ribbon, thread it through the gap. 16. Install the five screws and screw hole plugs to complete the assembly of the upper part. 17. Connect the IPS screen with motherboard. 18. If needing welding, connect the spot with Q12B on the motherboard with the extra wire. 19. Install buttons, rubber pad and speaker properly. 20. Install the three motherboard screws. 21. Instal bottom shell, battery and back cover. 22. That’s done. Enjoy it
Safety Warning
An inappropriate installation can damage your device and the item and buyer will be responsible for this kind of damage.
| SKU: | B0CZ686HK3 |
| Dimensions: | 12.7 x 10.16 x 2.54 cm; 68.04 kg |
| Material: | Glass |
| Age: | 4 years and up |
| Assembly: | Yes |
| Material: | Glass |
| Reference: | SPIPSKitV3 |
